Introduction
Nowadays, someone choose the WordPress to build their own blog or their small business.However, people usually forget the security for their WordPress.In this tutorial, we present the Shield Security plugin and you will learn how to use them to protect your WordPress.
Table of Contents
- What’s WordPress plugin?
- The Shield security plugin
- Conclusion
What’s WordPress plugin?
We can imagine that the plugin is the extend library of WordPress.They work together with WordPress and make the WordPress functionality powerful.
Prerequisiste
Before starting the next article, we have to let you check out the following things:
- You already have the WordPress website.
- You should have the basic concepts about WordPress website.
- You should know how to find and install the WordPress plugins.
The Shield security plugin
In this article, you will learn how to install and set the Shield security plugins.
Step1 -Install the plugin
Firstly, we have to login the WordPress admin panel then checkout the link: https://yourdomain.com/wp-admin/plugin-install.php.
Step2 -Set the plugin
Secondly, find the plugin name: Shield security plugin then we can see this searching result of screenshot:
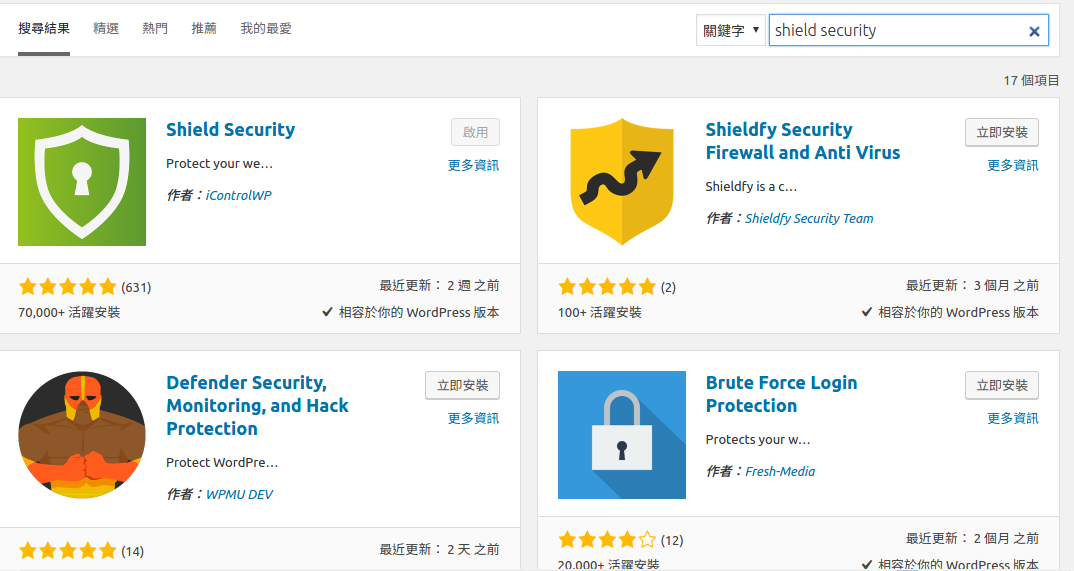
Then you can see the first result is the targeted plugin.we install and activate plugin.After activating the plugin, we will see the link named Shield Security is existed in left panel.We click this link then enter the Dashboard tab.After clicking the admin page, you will see the admin interface like the following screenshot.
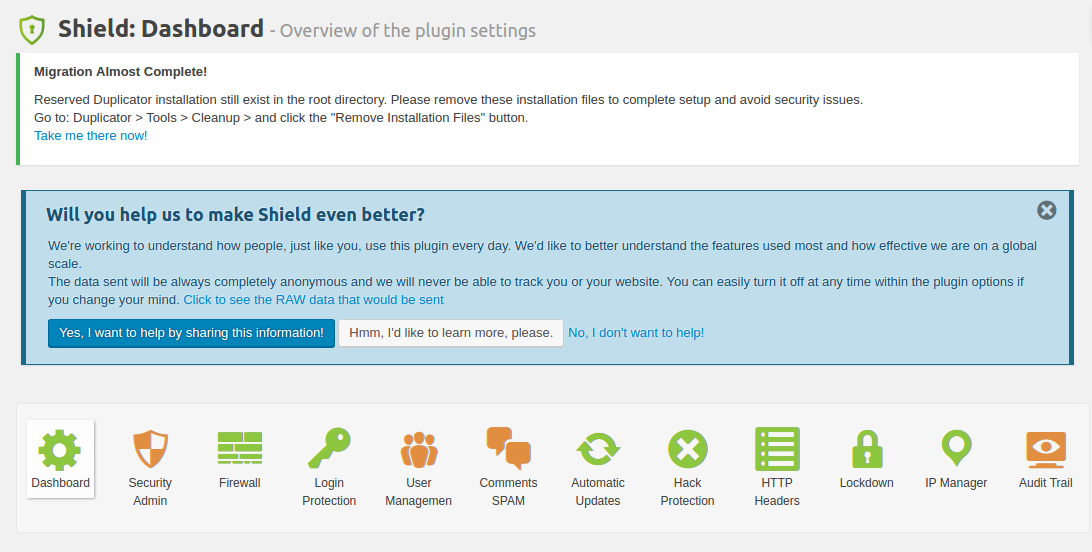
We click the Dashboard icon and will see the three tabs: Global options, General options and Google.In Global options, we have to make sure the Global Plugin On/Off Switch is checked.In General options,the Display Plugin Specific Notices have to be checked.In Google tab, we consider whether the reCAPTCHA is enabled during logging the WordPress admin page.
In Security Admin option,it restricts the access to this plugin to preventing unauthorized change to your security settings.The plugin recommend this feature should be enabled.
You have to consider the following screenshot to understand how to set the Security Admin.

We enable the Security Admin plugin and fill the Security Admin Access Key filed.Remember that admin key because the plugin will request the access key before modifing the WordPress options.
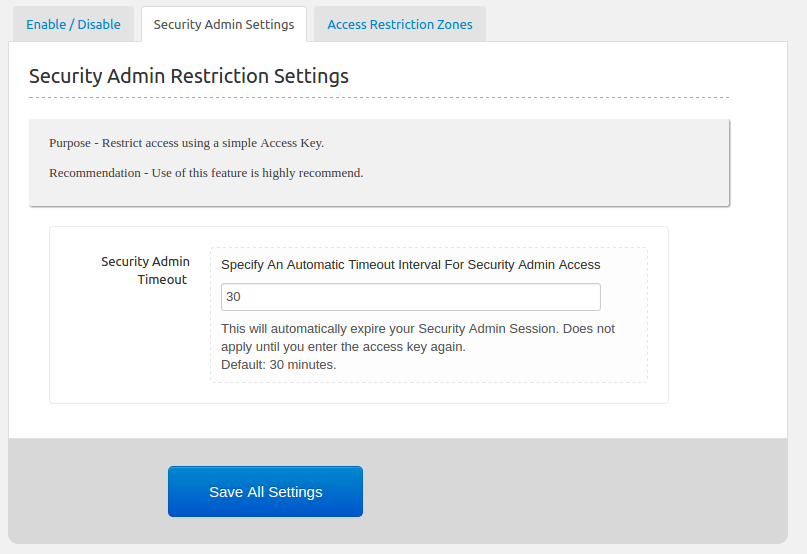
This setting is setted the timeout which the admin access key is expired.The default value is 30 minutes is fine so you don’t have to change this value.
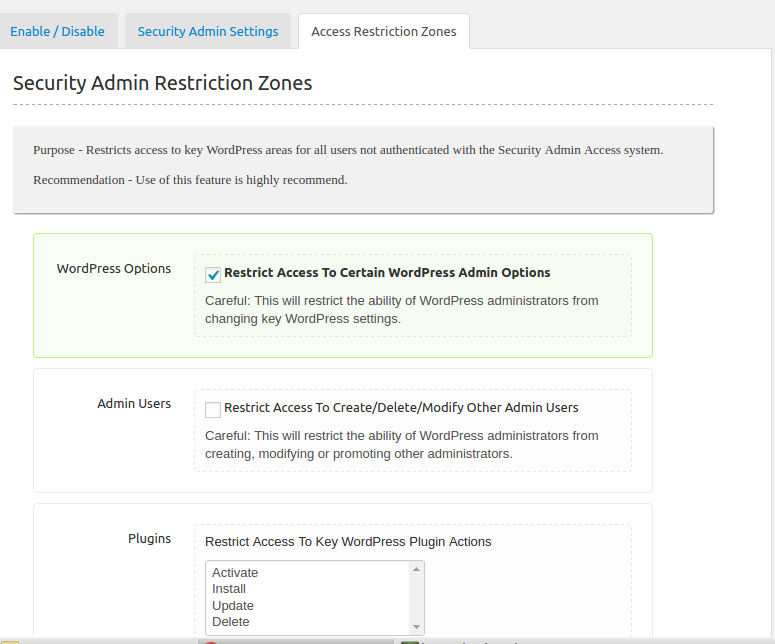
In Access Restriction zone tab, it let you choose the options which is restrictd.The WordPress options should be restricted. The Admin users or Plugins is up to you to be restricted.After checking the options, you have to click the Save All Seetings so that the feature you check will be worked.
In Firewall feature, you can consider the following recommendations.
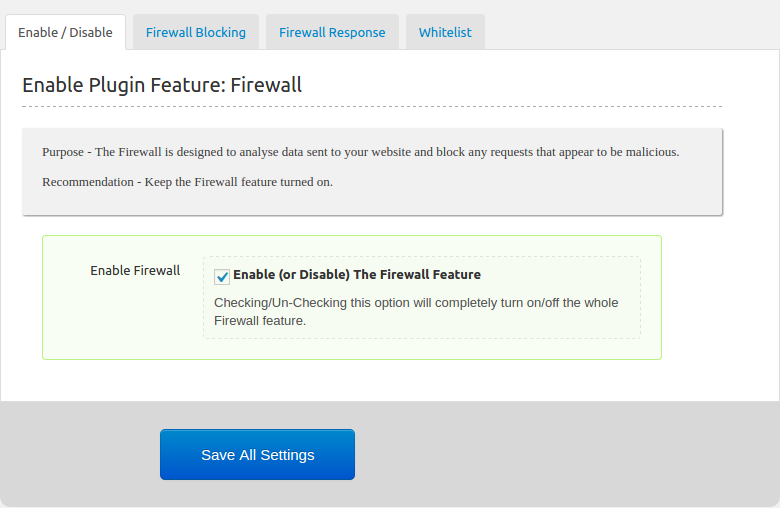
We enable this plugin.
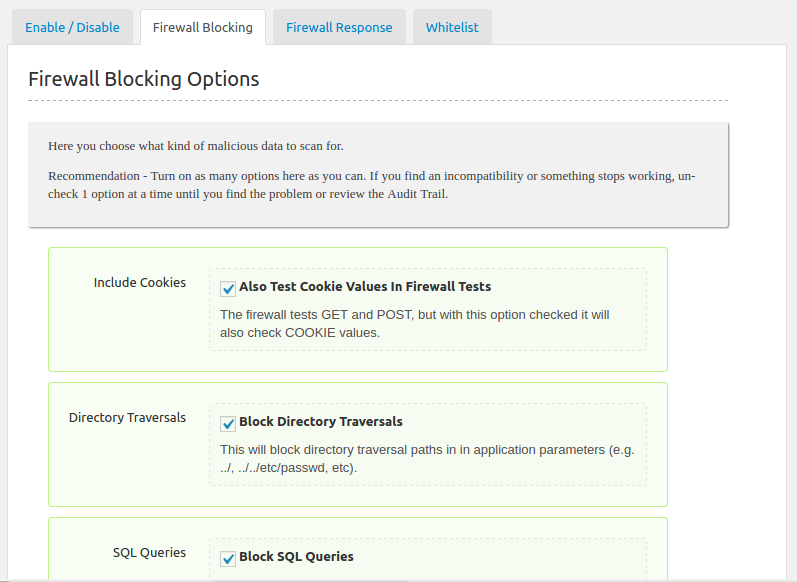
If possible, check all the features in Firewall Blocking tab. It will be blocked the illegal behavior by the Firewall plugin.
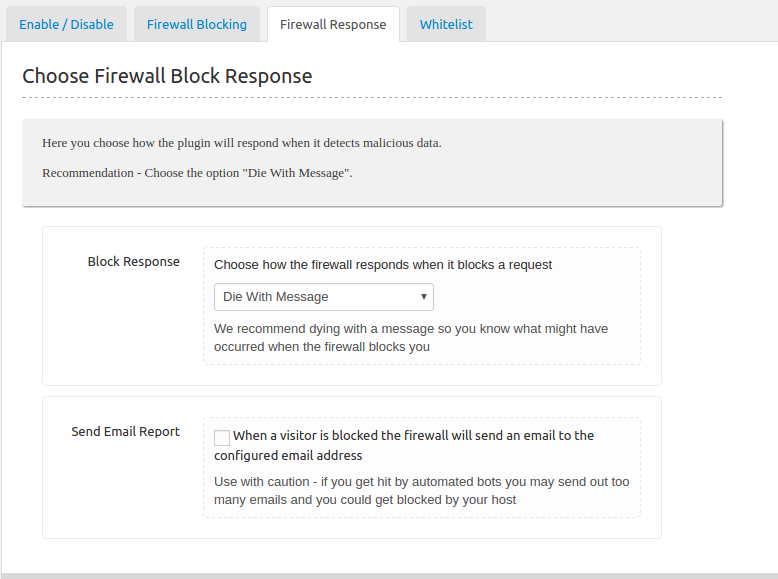
Select the “Die With Message” option is fine and it’s up to you to check the Send Email Report option.
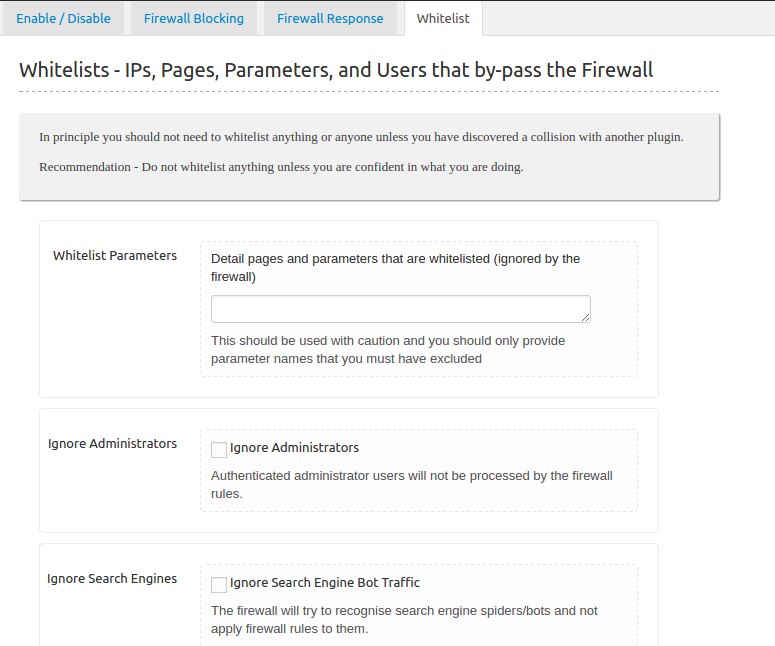
You should not check any featue in the Whitelist tab because there’re not any feature can bypass the firewall.
After checking the required features, you have to click the Save All Settings button to make sure your features you check is worked successfully.
Once you notice that you get the “Die With Message” after modifing the Admin options, you should temporarily disable the Firewall plugin until the admin user will be modified successfully.
Conclusion
The first part is ended here and we will introduce the Login Protection, User Management and Comments SPAM in next part.